In the competitive digital marketplace, high-quality real estate photography is crucial for making listings stand out. Here are some professional tips and techniques to elevate your real estate photography:
1. Prepare the Property
– Declutter and Clean: Ensure the space is clean and free of clutter. Remove personal items and excessive decorations.
– Staging: Arrange furniture and décor to create a welcoming and functional space. Consider professional staging for an enhanced appeal.
– Lighting: Open curtains and blinds to let in natural light. Turn on all lights, including lamps and under-cabinet lighting, to create a bright and inviting atmosphere.
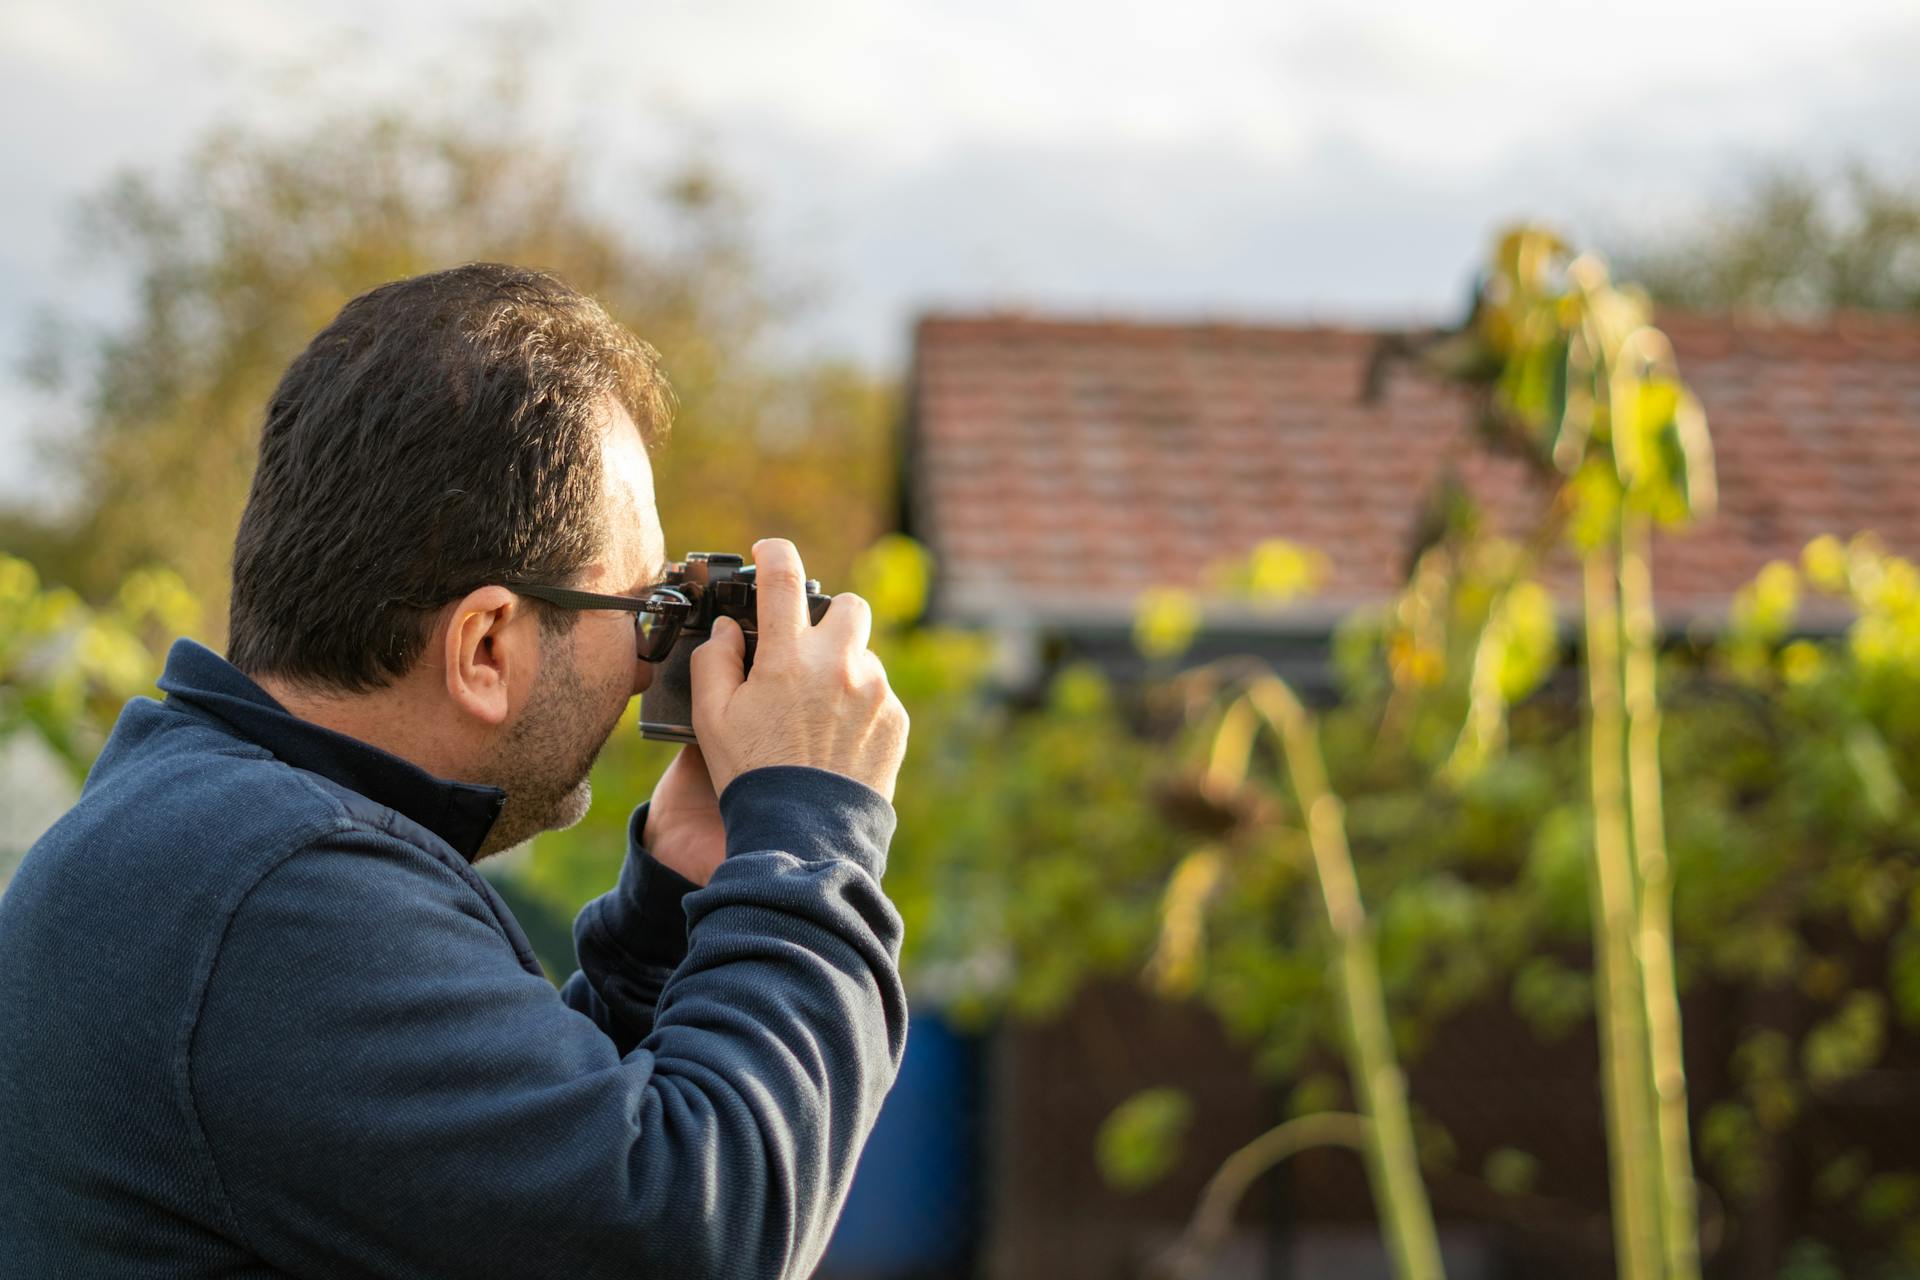
2. Use the Right Equipment
– Camera: A DSLR or mirrorless camera with a wide-angle lens (10-24mm) is ideal for capturing spacious interiors.
– Tripod: A sturdy tripod is essential for sharp images, especially in low-light conditions.
– External Flash: Use an external flash or off-camera lighting to balance exposure and eliminate shadows.
3. Master Composition
– Rule of Thirds: Use the rule of thirds to create balanced and visually appealing shots. Position key elements along the grid lines or at the intersections.
– Straight Lines: Keep vertical and horizontal lines straight to avoid distorted perspectives. Use a bubble level or the camera’s built-in level feature.
– Vary Angles: Shoot from different angles and heights to showcase the property’s best features. Eye level or slightly above eye level is usually the most flattering.
4. Optimize Lighting
– Natural Light: Utilize natural light as much as possible. Shoot during the day when the light is soft and diffused, typically during the early morning or late afternoon.
– Avoid Harsh Shadows: On bright days, use sheer curtains to diffuse direct sunlight and minimize harsh shadows.
– Balanced Exposure: Use HDR (High Dynamic Range) photography to balance the exposure in high-contrast scenes, ensuring both bright and dark areas are well-exposed.
5. Pay Attention to Details
– Symmetry and Balance: Arrange furniture and décor symmetrically for a pleasing composition.
– Highlight Features: Focus on unique and desirable features such as fireplaces, built-in shelves, or architectural details.
– Show Flow: Capture the flow of the space by including connecting areas and hallways to give a sense of the layout.
6. Post-Processing
– Editing Software: Use professional editing software like Adobe Lightroom or Photoshop to enhance your images.
– Color Correction: Adjust white balance and colors to ensure they are true to life and appealing.
– Brightness and Contrast: Fine-tune brightness, contrast, and shadows to make the images pop while maintaining a natural look.
– Remove Imperfections: Edit out minor imperfections such as spots on walls or blemishes to present the property in its best light.
7. Showcase the Exterior
– Curb Appeal: Capture the exterior from multiple angles to highlight curb appeal and landscaping.
– Golden Hour: Shoot exterior photos during the golden hour (shortly after sunrise or before sunset) for warm, flattering light.
– Include Surroundings: Show the property in context by including the neighborhood, nearby amenities, or scenic views.
8. Create Virtual Tours and Videos
– 360-Degree Tours: Use 360-degree cameras to create immersive virtual tours that allow potential buyers to explore the property online.
– Video Walkthroughs: Produce video walkthroughs to provide a dynamic and engaging perspective of the property. Use a stabilizer or gimbal for smooth footage.
Conclusion
High-quality real estate photography is a blend of technical skill, creative composition, and careful preparation. By following these professional tips and techniques, you can create stunning images that attract attention and drive interest in your .